Introduction and setting up the plan
The advanced classification extension allows users to classify data from different entities (customers, vendors, and/or items) by the fields that have been set up on the “Advanced Classification Settings” screen. The number of fields that can be configured is determined by the type of plan chosen from the “Advanced Classification Activation Guide” in “Assisted Setup”. This type of plan indicates how the user will be able to enjoy the extension, it can be in Basic mode (up to 4 fields for classification) or in Advanced mode (up to 8 fields for classification).
Once user has set up this advanced classification fields in customers, vendors and items and fill the corresponding values in each entity, these values will be taken to the corresponding entries in order to user be able to make filters to have a more detailed information, just with the criteria he/she needs or export the lines to Excel or any other application to manage the information and get dashboards based on these new advanced classification fields.
So, the first thing user must do is to choose the type of plan he wants. This plan can be changed later.
Setting up for the first time
To set up advanced classification for the first-time user must follow next steps:
1. From the main screen select “Setup & Extensions –> Assisted Setup”.

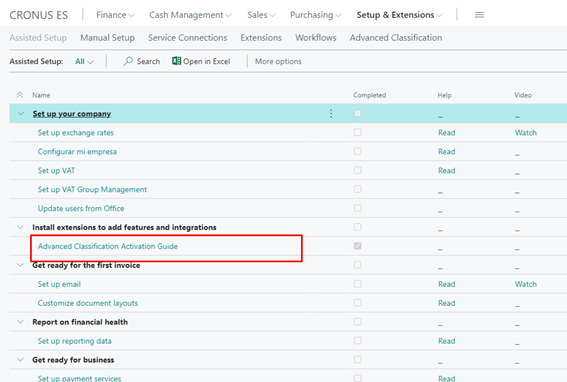
2. In the list shown select “Advanced Classification Activation Guide”.
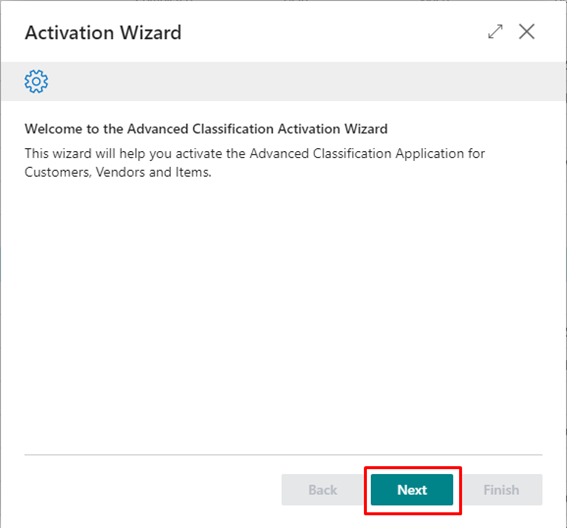
3. In the following window click “Next” to start.
4. In the next window user must select the type of plan to use.
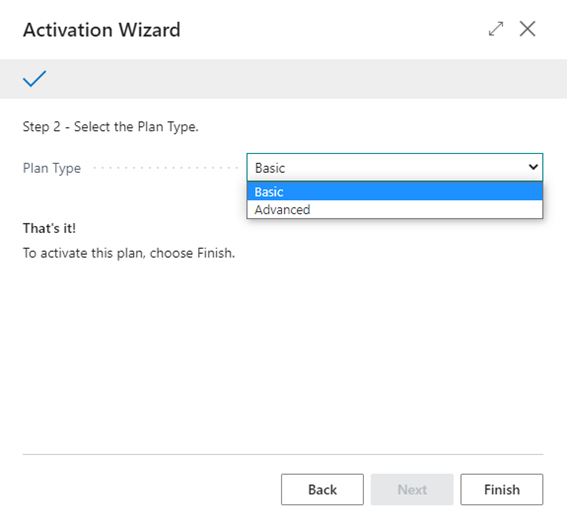
5. Select “Basic” (later user will change the type of plan to check all the possibilities) and click “Finish” to finish the initial configuration.
Setting up again, changing plan
With the basic plan user have up to 4 fields for classification. Now let us change to the advanced plan (up to 8 fields for classification) to explore all the possibilities. All the examples in the document will be performed with the advance plan because is more complete and include the basic plan.
To set up advanced classification again and change the plan user must follow next steps:
1. From the main screen select “Setup & Extensions –> Assisted Setup”.

2. In the list shown select “Advanced Classification Activation Guide”.
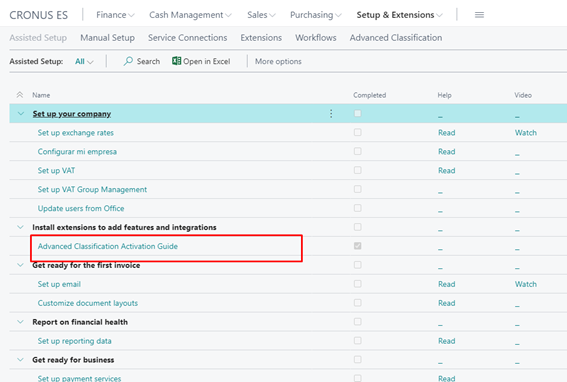
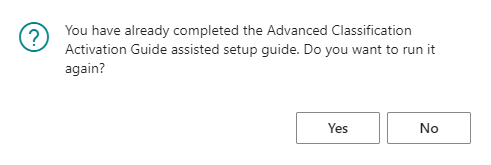
3. As we have already configured advance classification user must confirm for changing the plan. Click “Yes” to follow.
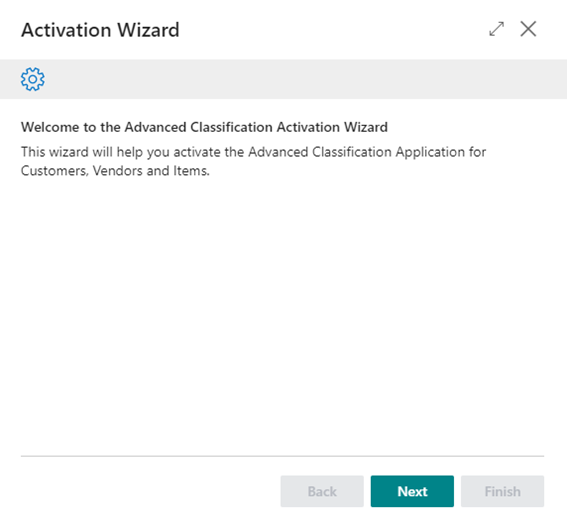
4. Click “Next” to continue
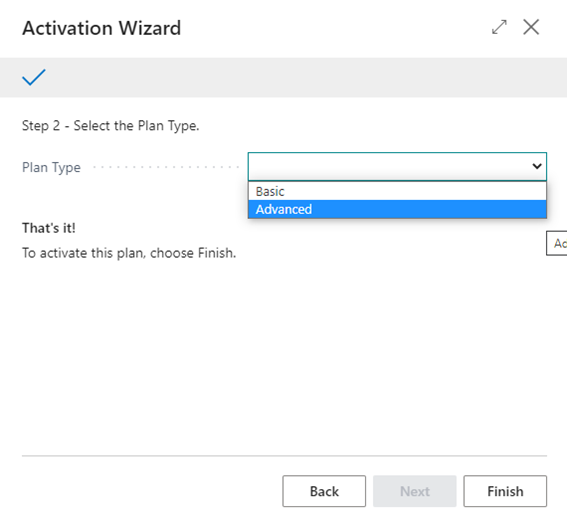
5. Now, user must select the new plan to change. Select “Advanced” and “Finish”
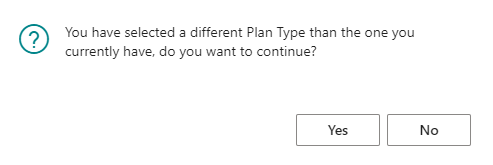
6. User is informed that is changing the plan and asking for confirmation. Click “Yes”
General set up
Now user has selected the correct plan, he must set up the fields he wants for working with advanced classification.
Set up advance classification fields
To configure the fields that will be used to classify the information for each entity type (Customer, vendor and/or product) user must follow next steps:
1. In the “Tell me what you want to do” search for “Advanced Classification Setup”
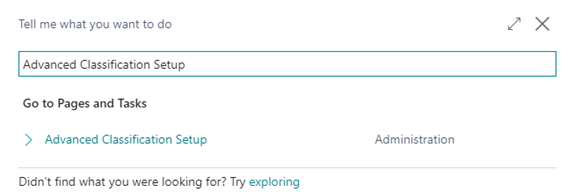
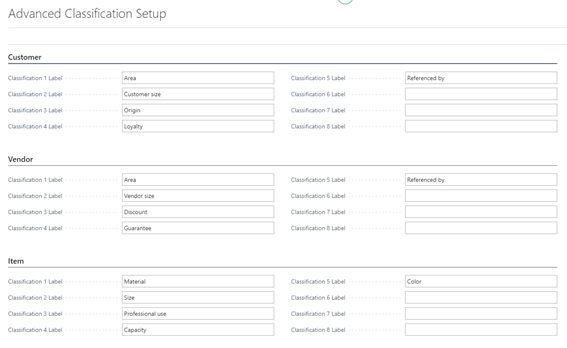
2. First, user must set up classification fields for customer like that:
| Field Name | Value |
| Classification 1 Label | Area |
| Classification 2 Label | Customer size |
| Classification 3 Label | Origin |
| Classification 4 Label | Loyalty |
| Classification 5 Label | Referenced by |
3. Now, user must set up classification fields for vendors like that:
| Field Name | Value |
| Classification 1 Label | Area |
| Classification 2 Label | Vendor size |
| Classification 3 Label | Discount |
| Classification 4 Label | Guarantee |
| Classification 5 Label | Referenced by |
4. To finish, user must set up classification fields for items like that:
| Field Name | Value |
| Classification 1 Label | Material |
| Classification 2 Label | Size |
| Classification 3 Label | Professional use |
| Classification 4 Label | Capacity |
| Classification 5 Label | Color |
Set up customers
Once you have set up which fields you want to use to classify the information in the customer entity, you can choose the values of those fields within the customer card in the “Classification” tab. For this:
1. In the “Tell me what you want to do” search for “Customers”
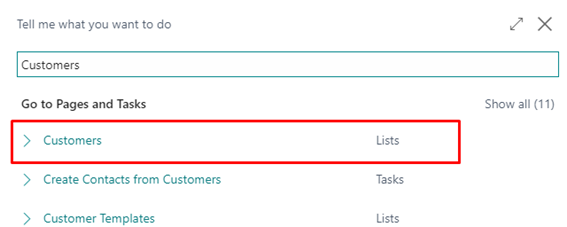
2. In then customer list, select a customer to configure. Remember the customer because it will be used further. On the selected customer, click on “No.” field to open his card.

3. On the “Classification” tab fill the different classificatory fields. As is the first-time user must create the different values for each field. For this:
3.1. In the field “Area”, deploy it as you were to select a value.

3.2. Click on “New” to create a new value
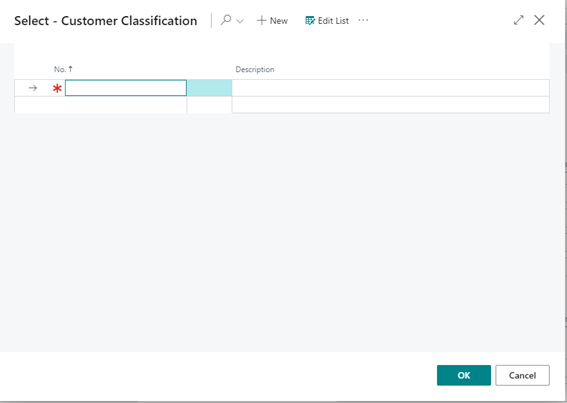
3.3. Create as many values as you need filling “No.” and “Description” fields.
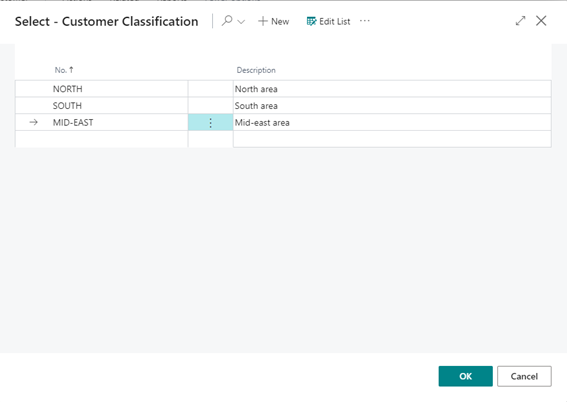
3.4 For the rest of the classification fields user must do the same, creating the different values for each field classification.

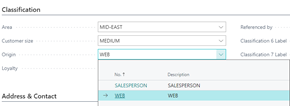


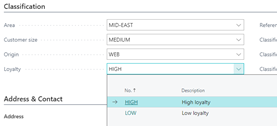
4. At the end you should have something like this:

Set up vendors
Once you have set up which fields you want to use to classify the information in the vendor entity, you can choose the values of those fields within the vendor card in the “Classification” tab. For this:
1. In the “Tell me what you want to do” search for “Vendors”
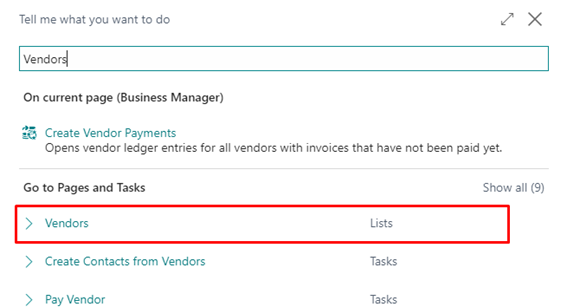
2. In then vendor list, select a vendor to configure. Remember it because it will be used further. On the selected vendor, click on “No.” field to open his card.

3. On the “Classification” tab fill then different classificatory fields. As is the first-time user must create the different values for each field. The process to create the values for each classificatory field is the same as for customer. The result should be something like this:

Set up items
Once you have set up which fields you want to use to classify the information in the item entity, you can choose the values of those fields within the item card in the “Classification” tab. For this:
1. In the “Tell me what you want to do” search for “Items”
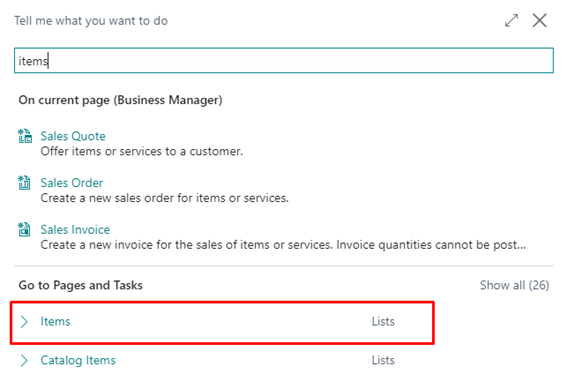
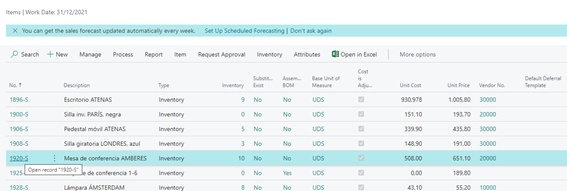
2. In then item list, select an item to configure. Remember it because it will be used further. On the selected item, click on “No.” field to open his card.
3. On the “Classification” tab fill the different classificatory fields. As is the first-time user must create the different values for each field. The process to create the values for each classificatory field is the same as for customer. The result should be something like this:

Working with advanced classification
Now that user has configured the different entities, he/she can start working with them and explode and organize the information. Also, can use this information to filter and summarize data.
First user is going to create a purchase invoice and check how to work with this classification.
Advanced classification in purchases
To create a purchase invoice, follow these steps:
1. In the “Tell me what you want to do” search for “Vendors”.
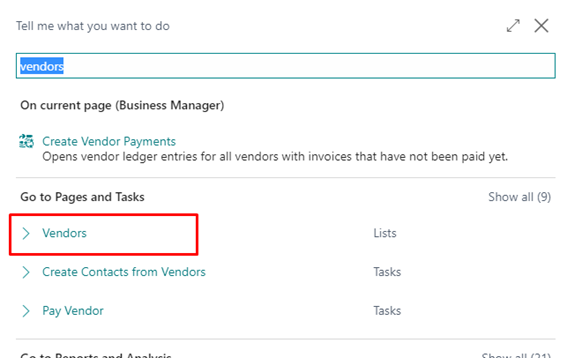
2. Select the vendor configured previously and select “New Document –> Purchase Invoice” to create a new invoice

3. A new purchase invoice is created with all needed fields filed in header.
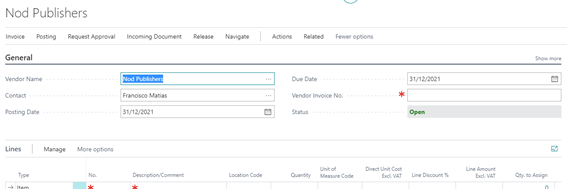
4. Fill “Vendor Invoice No.” field
5. Create a new line with the following information:
| Field Name | Value |
| Type | G/L Account |
| No. | 6000001 |
| Quantity | 1 |
| Direct Unit Cost Excl. VAT | 1000 |
6. Post the invoice. Go to “Posting –> Post”

7. Click “Yes” in the next window

8. On the next window click “Yes” to open posted invoice and check de information generated.
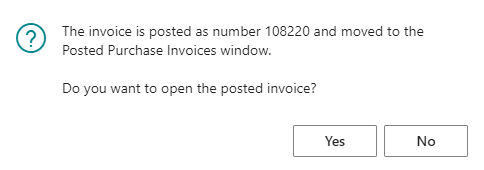
9. In the posted invoice let us navigate to check how the advanced classification fields have been taken to the vendor ledger entries. For this, in the posted invoice click on “Invoice Find entries”.

10. On the “Vendor Ledger Entry” line click on the number (“No. of entries”)
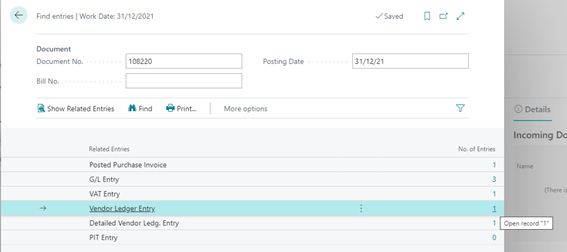
11. In the “Vendor Ledger Entries” list user can see how the fields configured for advanced classification have been taken to the entries. Now, user can make filters to have a more detailed information, just with the criteria he/she needs or export the lines to Excel or any other application to manage the information and get dashboards based on these new advanced classification fields.

Advanced classification in sales
When you post a sales document associated with a customer who has advanced classification set up, you can see the fields set up for advanced classification in the customer ledger entries in the posted document. Also, if user is selling an item, and it has advanced classification set up, you can see the fields in the item ledger entries.
Let us make an example of this working from a sales order, first, receiving an item (to check item ledger entries) and then, invoicing (to check customer ledger entries). We are going to use the customer and item configured previously.
1. In the “Tell me what you want to do” search for “Customers”.
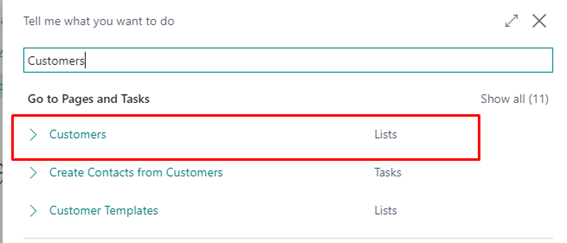
2. Select the customer configured with advanced classification and create a sales order. For this click on “New Document –> Sales Order”
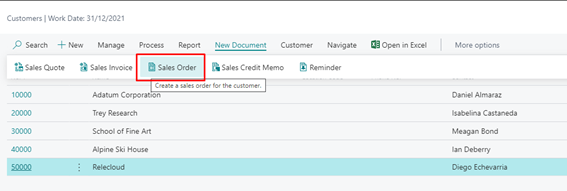
3. A new order is created with all the fields filled in header.
4. Create a new line with the following information
| Field Name | Value |
| Type | Item |
| No. | 1920-S (the item previously configured with advanced classification) |
| Quantity | 1 |
| Unit Price Excl. VAT | 700 |
| Qty. to Ship | 1 |
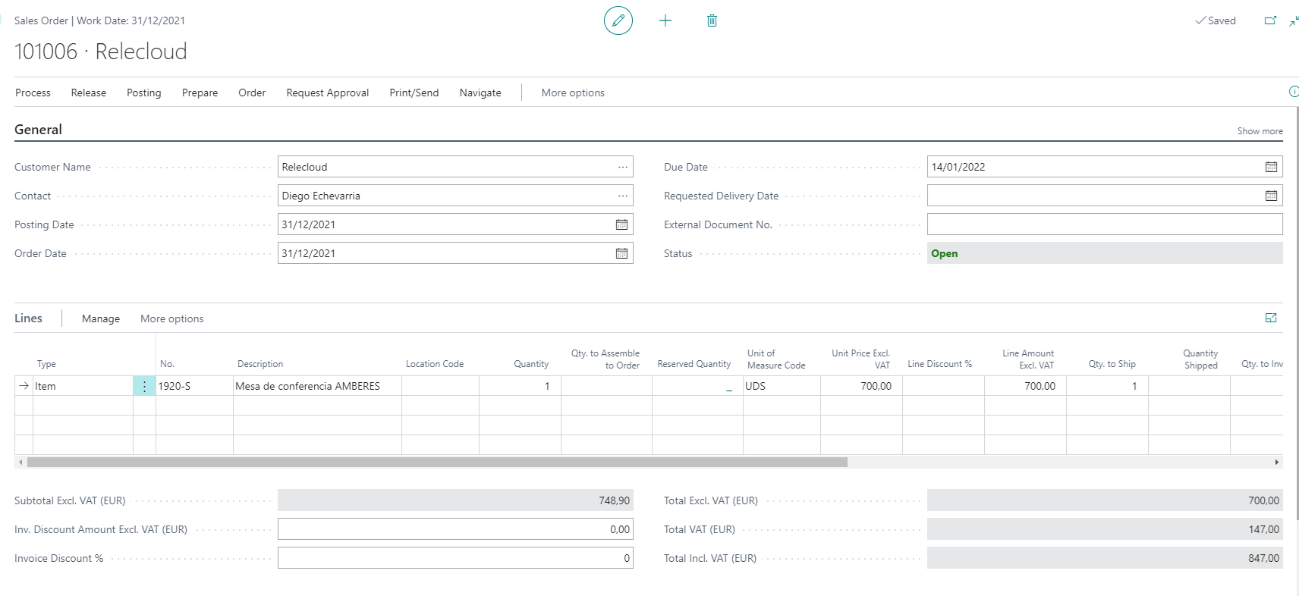
5. First, let us ship the item. For this click on “Posting –> Post”

6. In the next window select “Ship” to process the shipping of the item. This will generate a posted shipment and an item ledger entry.
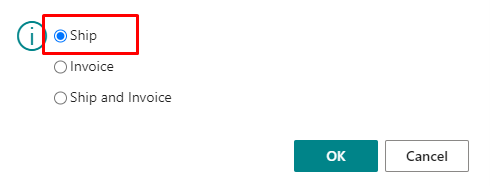
7. To check the shipment, in the sales order select “Navigate –> Shipments”.

8. In this page, select “Shipment –> Find entries” to navigate to the entries related with the shipment

9. Click on the number (“No. of Entries”) in the Item Ledger Entry line
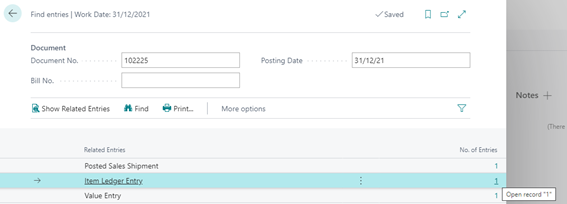
10. In then item ledger entry list user can see de advanced classification fields configured in the item.

11. Now, let us post the invoice to check how the advanced classification fields configured in the customer are taken to the customer ledger entries. For this, in the sales order select “Posting –> Post”.

12. In the next window select “Invoice”.
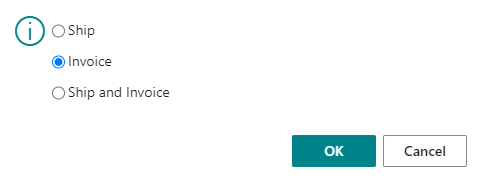
13. In the next window select “Invoice”.
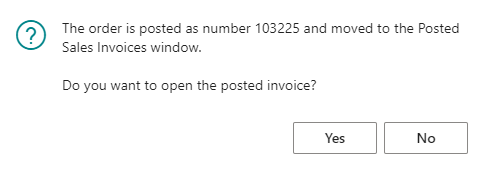
14. In the posted sales invoice select “Invoice –> Find entries” to navigate to the entries related to the posted invoice.

15. Click on the number (“No. of Entries”) on the Cust. Ledger Entry line.
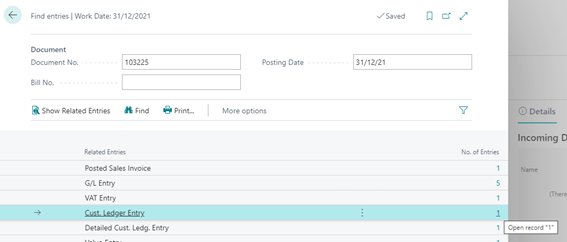
16. Check how the advanced classification fields configured in the customer have been taken to the entries. Now, user can make filters to have a more detailed information, just with the criteria he/she needs or export the lines to Excel or any other application to manage the information and get dashboards based on these new advanced classification fields.

